Reflx Lab Range Lux Meter Review: Trying To Find The End Game Meter
Disclosure
This Rangefinder Light Meter Combo was provided to me by Reflx Lab in exchange for an article for the product, after I reached out to them for the opportunity. I was not told what to say nor how to test the product. As such, this is indicative of how I would actually use it and what I think of it.
Quick Answers
Best for: Anyone who wants to practice intentional photography
Metering type: Reflective center average of a 30° field of view
Battery: ~4 hours of continuous metering, charges up within an hour. ~75% in 30 minutes
Price range: $100 for the 30 degree standard version
Pros & Cons
Pros
Premium, sturdy build (aluminum case, solid dial feel)
Highly accurate metering, including in extreme conditions (direct sun, night neon signs with a telephoto lens)
Sometimes more accurate than in-camera metering (GFX 50R, Mamiya 6)
Continuous metering mode delivers consistently reliable readings
Sits securely in hot shoes, no risk of falling out
Useful top-mounted OLED screen for low-light/night shooting
Distance-measurement laser is bright and easy to use once you learn the correct workflow
Auto-sleep after 30s saves battery and reduces need to manually power off
Solid battery life (3-4 hours continuous; ~75% charge in 30 minutes)
Reliable, modern alternative to aging or drifting internal meters
Cons
Steep learning curve, two-button/dial control scheme relies on taps, double-taps, and long-holds that aren't intuitive at first
First reading(s) after waking from sleep are frequently and significantly wrong
Distance measurement requires a specific multi-step process to be accurate, error-prone if done casually
Laser distance aid is too conspicuous for street photography, draws attention to the photographer
Dual-function design (light + distance) is clunky handheld, better suited to tripod or static shooting
Black finish shows fingerprints and smudges easily
Battery life takes a real hit when using continuous mode
Intro
Being a mechanical camera enthusiast I've been using light meters for a while now with my meter of choice being the TTArtisan Light Meter II. The convenience, while great, ended up leaving me with a meter that now needs to be replaced due to lackluster performance and build quality that didn't hold up over time.
In the meantime, I've been using my phone as that's the meter we all have but... it's just not the experience that suits a mechanical camera. The whole point I shoot mechanical is to be detached from modern electronics and distractions. I want something intentional and with my previous experience under my belt, I now want something reliable and premium that I can keep in my kit for the foreseeable future.
This is where Reflx Lab's Range Lux Meter comes into the picture; I'd been eyeballing it for a while and I reached out to ask if they'd send one for review. They were kind enough to send one out so let's see how it fares in the field and against alternatives.
Specs
| Metering type | Center Focused @ 30° (~65mm) |
| Shutter speed range | 30s - 1/8000 |
| Aperture range | f1 - f32 |
| ISO range | ASA 8 - 6400 |
| Battery | 250 mAh Internal, USB-C Charged (up to ~3-4 hours of use) |
| Dimensions | 43mm x 35mm x 19mm |
| Weight | 34g |
| Distance Measure Range | 0-20m |
Build and Design
Starting with the unboxing (video here), the key takeaways were that this meter has a premium build quality and all the quality of life features I'd need to make this a long term solution for my needs. The aluminum case feels sturdy and reliable, the wheel feels great, the battery is internal and chargeable via USB-C, and it didn't feel any bigger than it needed to be. The black is a fingerprint and smudge magnet though... Not a bad thing, just made getting pretty pictures of it impossible, haha.
We'll deep dive into the experience of controlling the device in the next section but going a bit further into the feel of them, the buttons have a satisfying and tactile click and the wheel feels like it has an appropriate amount of resistance where it doesn't feel like you'll bump your settings out of place too easily. It can and does happen as it's not a clicked wheel but it's not loose by any means.
One thing that stood out and felt uncharacteristic to the rest of the experience with the device was that the screws holding in the hot shoe mount were loose when I received the device. Not sure why or how that happened, but after tightening them myself, they've been fine and the device has felt as premium as I expect.
On the topic of design, if there's ever a version 2 of the device, I'd like to see two main things added:
A button that locks the wheel in place. Pushed in, the wheel doesn't budge, push the button to release it and allow the wheel to spin. Similar to the GFX shutter speed wheel.
A mini exposure compensation wheel. It could live in the top right corner above the main wheel and range from -2 to -3 or something.
Of course, these would take extra engineering, materials, etc. So I would imagine this being an ultimate or pro version of this product and would cost much more. As a device that's so close to being end game, I think that a higher price tag would feel fair for all these features.
Controls in Practice
Before we deep dive into the controls and handling of the Range Lux Meter I want to say that this is absolutely a device that you should read the manual for and get familiar with. After a week or so, using the device does feel natural and intuitive as you figure out your ideal work flow with it but it was not as simple as using the TTArtisan Light Meter, for example, which is just 2 dials and a button.
Because the Range Lux Meter operates on two buttons and an unlabeled dial the commands are locked behind single taps, double taps, long holding, extra long holding, etc... It was naive thinking I could just run out and start shooting once the meter came in because I couldn't figure out things. I would constantly stop what I was doing to try and find help online. This is no fault of the product and its impressive that they have so much functionality with such a simple control scheme... it's just a limitation of the simple controls but it's a sacrifice I'm willing to make to keep the device small and sleek.
When you're out shooting there will be two main ways to meter: continuous or at the press of a button. I found that continuous was by far a better experience despite the battery life hit because of the meter always being on. Of course, for something like street photography this will be ideal as you want that available to you at all times, just in case something is about to happen.
However, even for slower shooting, I found continuous to be better for one big reason: when you turn on the meter from sleep mode, the first reading or two is almost always wrong. It's not just a little wrong, either. I would get readings of 4s shutter speeds for shots that needed 1/125... I don't know why this is the case. You already have to wait for 2-3 seconds for the meter to turn on and display the logo before you can start using it... so I'm unsure why there’s another delay where the meter basically gives unusable results. After this window, it works fine and goes to sleep after 30s which is nice for saving battery and makes it less of a chore to turn off every time you're done with it. But with this behavior, it just gets frustrating to use after 30 minutes of dealing with it and I just left it on continuous metering afterwards with accurate results.
Continuous mode engages by holding the light reading button for about 2 seconds and is indicated by three dots at the top of the display. In this mode, as long as the meter is continuously getting different light readings it will continue to stay turned on. Once the meter is in a situation where the light is unchanging (IE: in a bag) then it turns off after 30s. Helpful in case you forget to turn it off.
Something that I found (and is noted on the product page for the Range Lux Meter) is that when you turn the wheel for adjusting aperture, the amount you need to turn the wheel to modify the value on the meter is... random. Their product page says this is "barely noticeable" during fast rotation which is... true, I guess.
When you want to dial in specific settings, this randomness is very noticeable and frustrating though. The amount you need to turn to go from f4 to f5.6 might be 4 clicks and then 5.6 to 6.7 might be 6 clicks and then suddenly you're at f8 because that was 1 click. But then, when you try to go back to f6.7 that might be 3 clicks. The whole thing in practice takes you out of the zone if you're in the flow while doing street photography. I found myself just mentally doing the settings I need if the current meter settings were close enough to what I wanted just to avoid the wheel turning roulette.
As a two in one the Range Lux Meter gets the "range" part of its namesake from the fact that it can measure distance and has a laser it can use for precise distance measurements. Initially, I found that the distance measurements were always a bit off but this was just user error... I was pulling the camera away from my face to do the measurement, then putting it up to my eye and because I'm moving my camera between step 1 and 2, the measurement is obviously going to be wrong. The correct process is as follows:
Line up your composition through the viewfinder
Press the distance measurement button on the Range Lux Meter
Pull the camera from your face
Read the distance measurement
Think and verify if it makes sense
Take the light reading for your shot because this is the best time to do so
Adjust your focus barrel to line up with the measurement
Put in your exposure settings
Put the camera back up to your eye
Line up your composition again
Shoot
I found that doing it any other way was slower and clunkier. Once I started shooting this way, the distance measurements were accurate enough that I'd trust them for most shooting. The exception is apertures with a razor thin plane of focus (under f1.8) where I'd want more precision than this method can reliably give.
All of this makes me think that this feature is more suitable for tripod shooting though. Particularly on something like a medium format camera with a waist level finder where you don't want to hunch over and shove your eye into the waist level finder to dial in critical focus. Alternatively, you could use it for something like a Rollei 35 which is one of the featured cameras on the product page and would give you access to the lovely f2.8 or f3.5 apertures of the Rolleis.
Last point to touch on regarding the distance measure is that there is an include laser you can use to really dial in and pinpoint what you're measuring distance from. It works fine, it's bright and visible pretty easily. I did find myself struggling to find it at times just because I'm not really used to lining up what the laser initially ends up on. Once I found it, I could guide it and keep track of it easily. The laser stays on for about 10 seconds before it goes to sleep. I'm not sure if this is intentional or not and I couldn't find documentation of the intended behavior of it.
In the Field
For field testing I tried to cover a variety of use cases, cameras and lenses. My main pairing with the Range Lux Meter was an Olympus OM-1 as an every day carry combo.
Despite the 50mm field of view being a bit wider than the 30° metering angle (39° horizontally vs 30°), I found that essentially every exposure I did with this pairing was accurate; we'll touch a bit on causes of inaccuracy. I felt that I could consistently shoot towards bright light sources for dreamy flares, against horizons for landscape shots that feature bright skies and for macro shots of flowers both evenly lit and brightly lit by the sun.
On the high end, I paired the Range Lux Meter with a Mamiya 6 sporting both the 75mm (about 48° FF Equivalent) and 150mm (about 19° FF Equivalent). I found the camera's suggested settings to generally be in line with what the Range Lux Meter would suggest. The only exception being complex lighting scenarios where the Mamiya 6 would expectedly mess up shots (this is a post in itself that we won't go into... yet). In those instances, I found myself relying on the meter with success. Realistically, with the flexibility of modern film either meter would be fine but I did find myself more confident in exposures with Reflx Lab's offering.
Those with a keen eye may have noticed the Range Lux Meter includes a screen on the top of its body. This ended up being particularly useful for shooting at night as it allows you to easily see what settings you should dial in even if you're shooting in a dimly lit street or out in nature. I was going to shoot at night either way but the black and white OLED screen on the top of the meter definitely made it easier to get out there and shoot and I didn't run into any odd situations where stray lights from signs or lamps threw off the meter.
One thing that I was happy to notice over the course of using the Range Lux Meter is that it sat very comfortably in my cameras' hot shoes without any concern for it to fall out. It was secure without feeling like I had to roughly shove it into my camera like I've experienced with other hot shoe accessories. This is huge if you're going to keep the meter on your camera at all time or if you plan to bring it to more rough situations like hiking, concerts, trekking through cities for hours on end. The last thing you want is having your meter fall off and get lost, get damaged or just not be available to you when you need it... which has happened to me with my prior meter, so it does happen!
Last note in the field is that after the novelty wore off for the laser distance measurement aid, I quickly stopped using it for street photography. It is VERY bright, noticeable and would be the equivalent of yelling, "hello I am pointing my camera at you!" I think that for something more static or when you're doing a shoot with a subject, this is less of an issue. For street, this is a non-starter and any time I'd accidentally turn on to light I'd quickly jump to cover it to not stand out.
Accuracy
When this meter is working as expected, I've found consistent spot on results that I rarely felt the need to second guess. Most results that were "off" tended to be high contrast scenes that I either metered incorrectly or where the film didn't have the dynamic range for both the highlights and shadows and I had to pick one or the other to sacrifice.
My other source of inaccuracy was how I held the meter. When the camera isn't up to my eye, I would have it tilted too high or low resulting in readings that were either sky focused (too bright) or land focused (too dark). It's the nature of having a wide-ish metering angle; you have to be sure to get accurate averages of your scene to avoid over or under exposure when shooting against the sky.
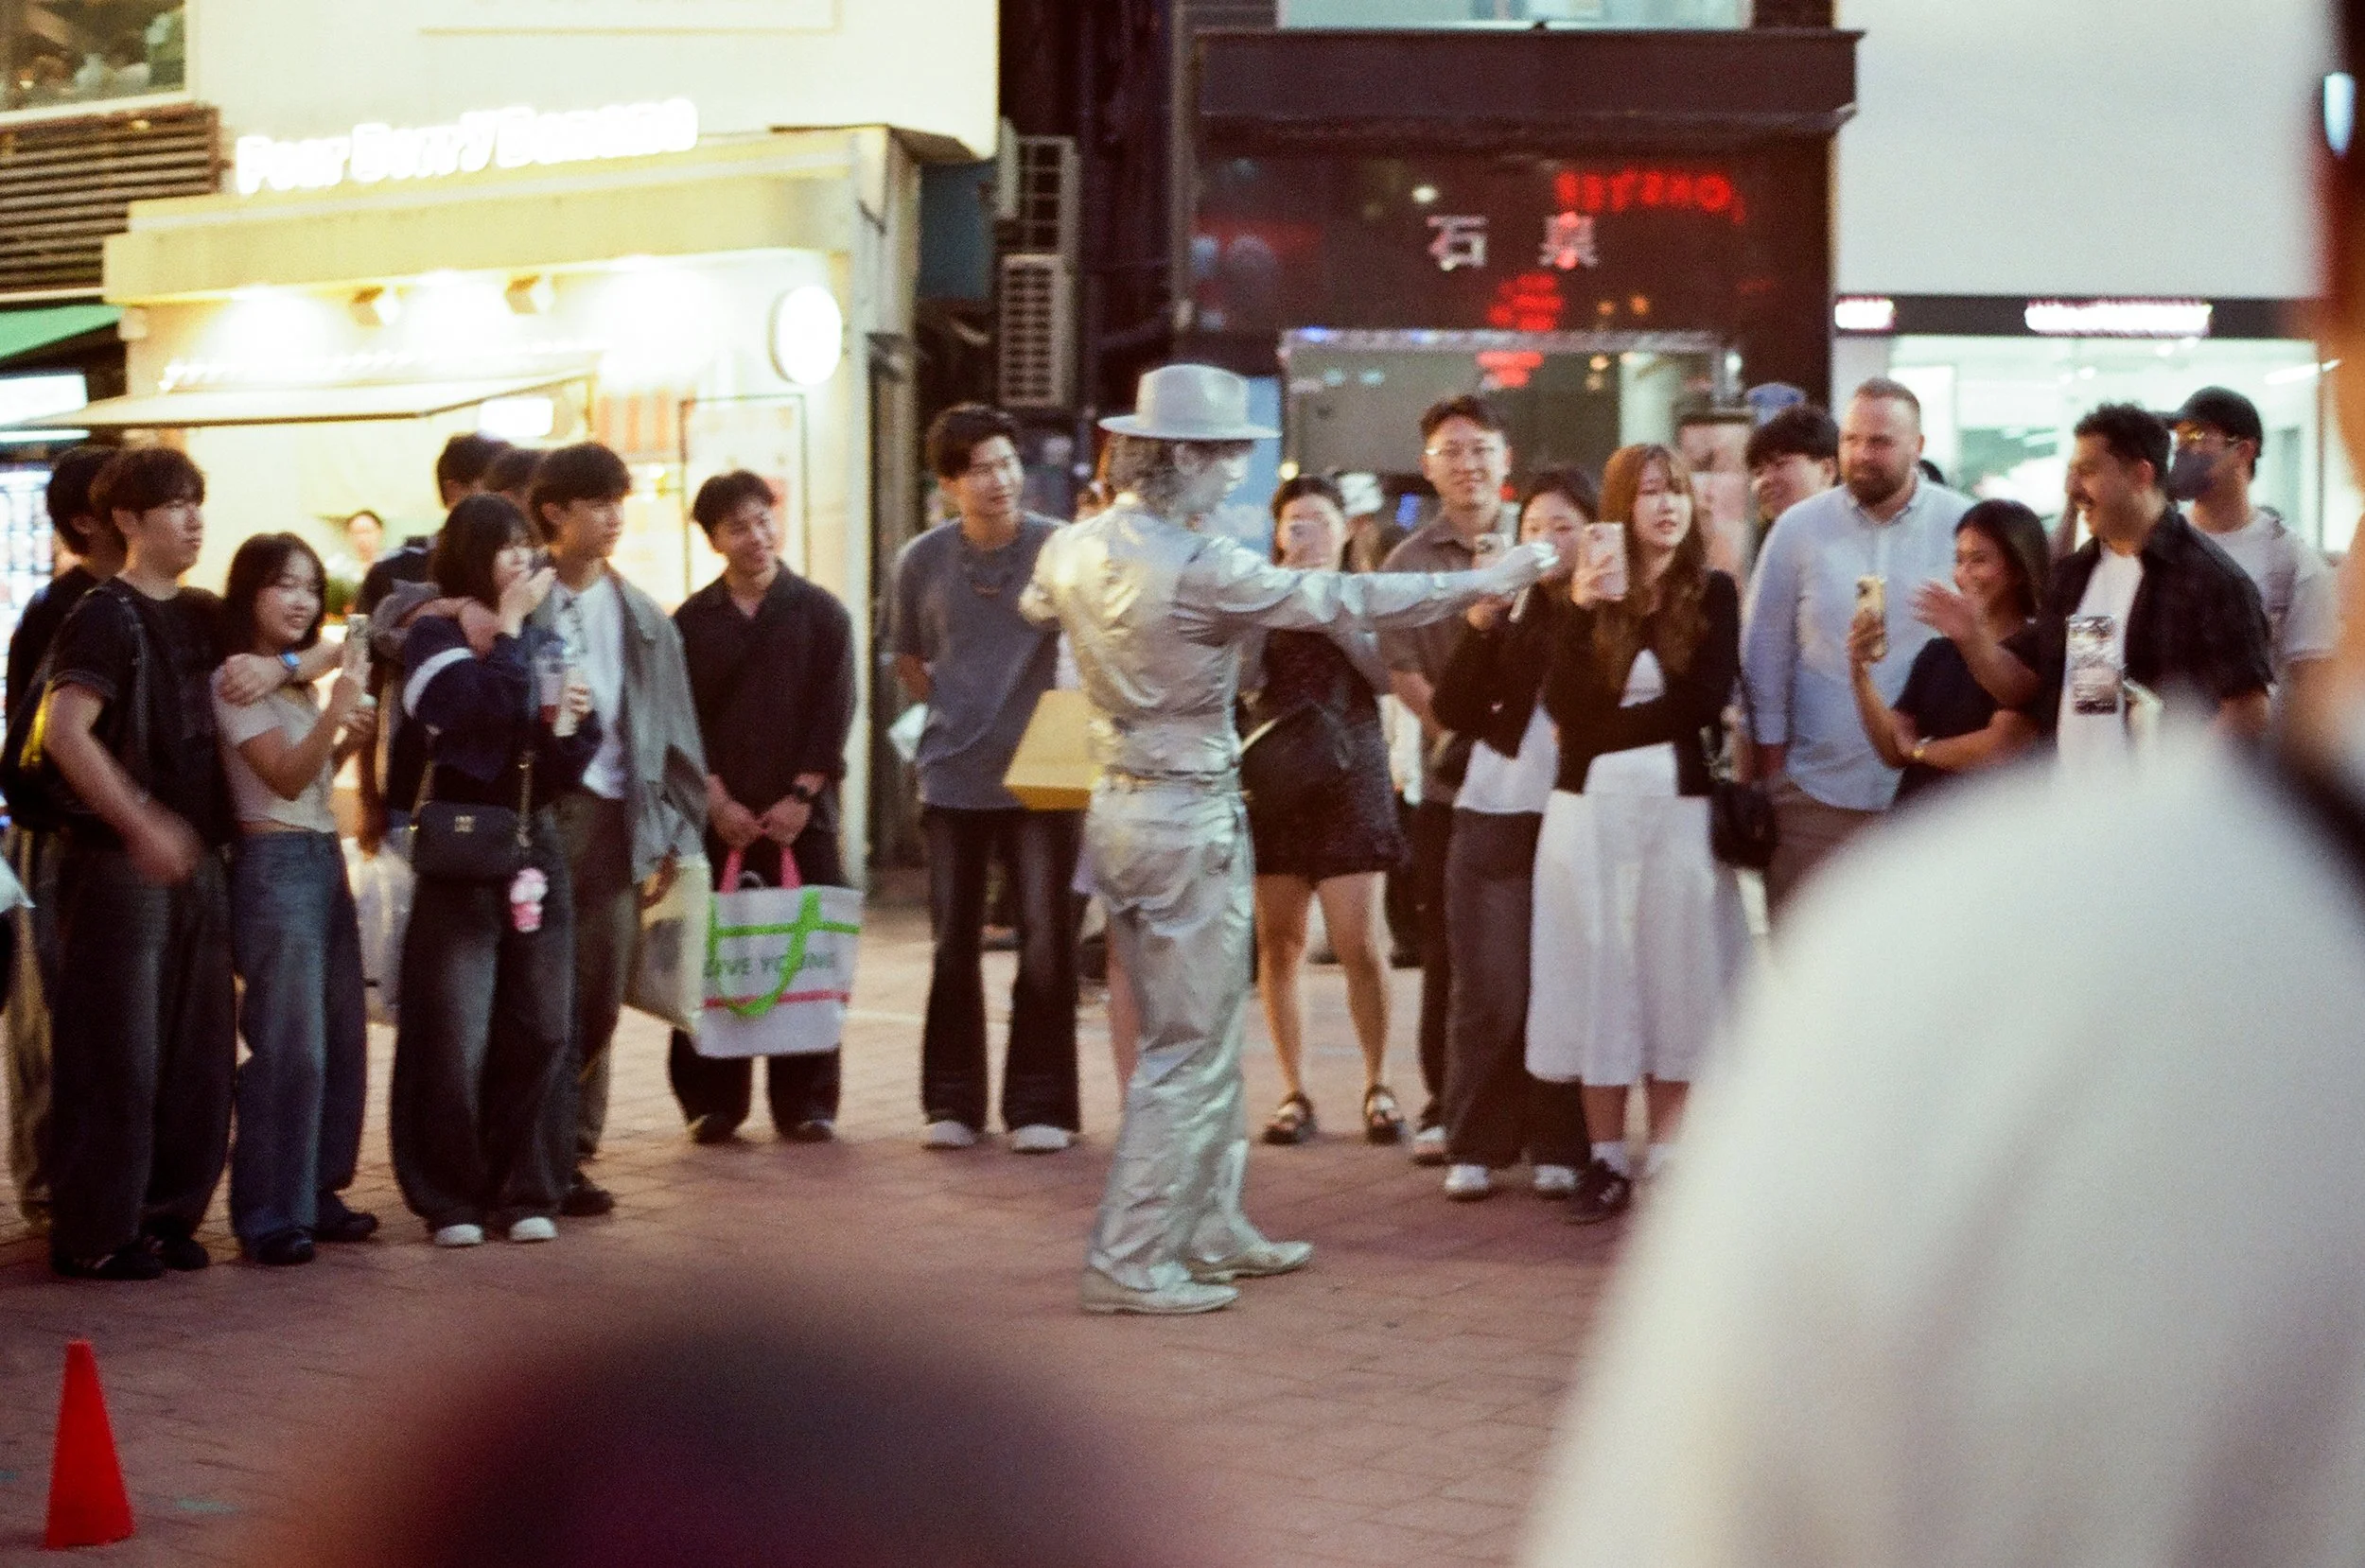
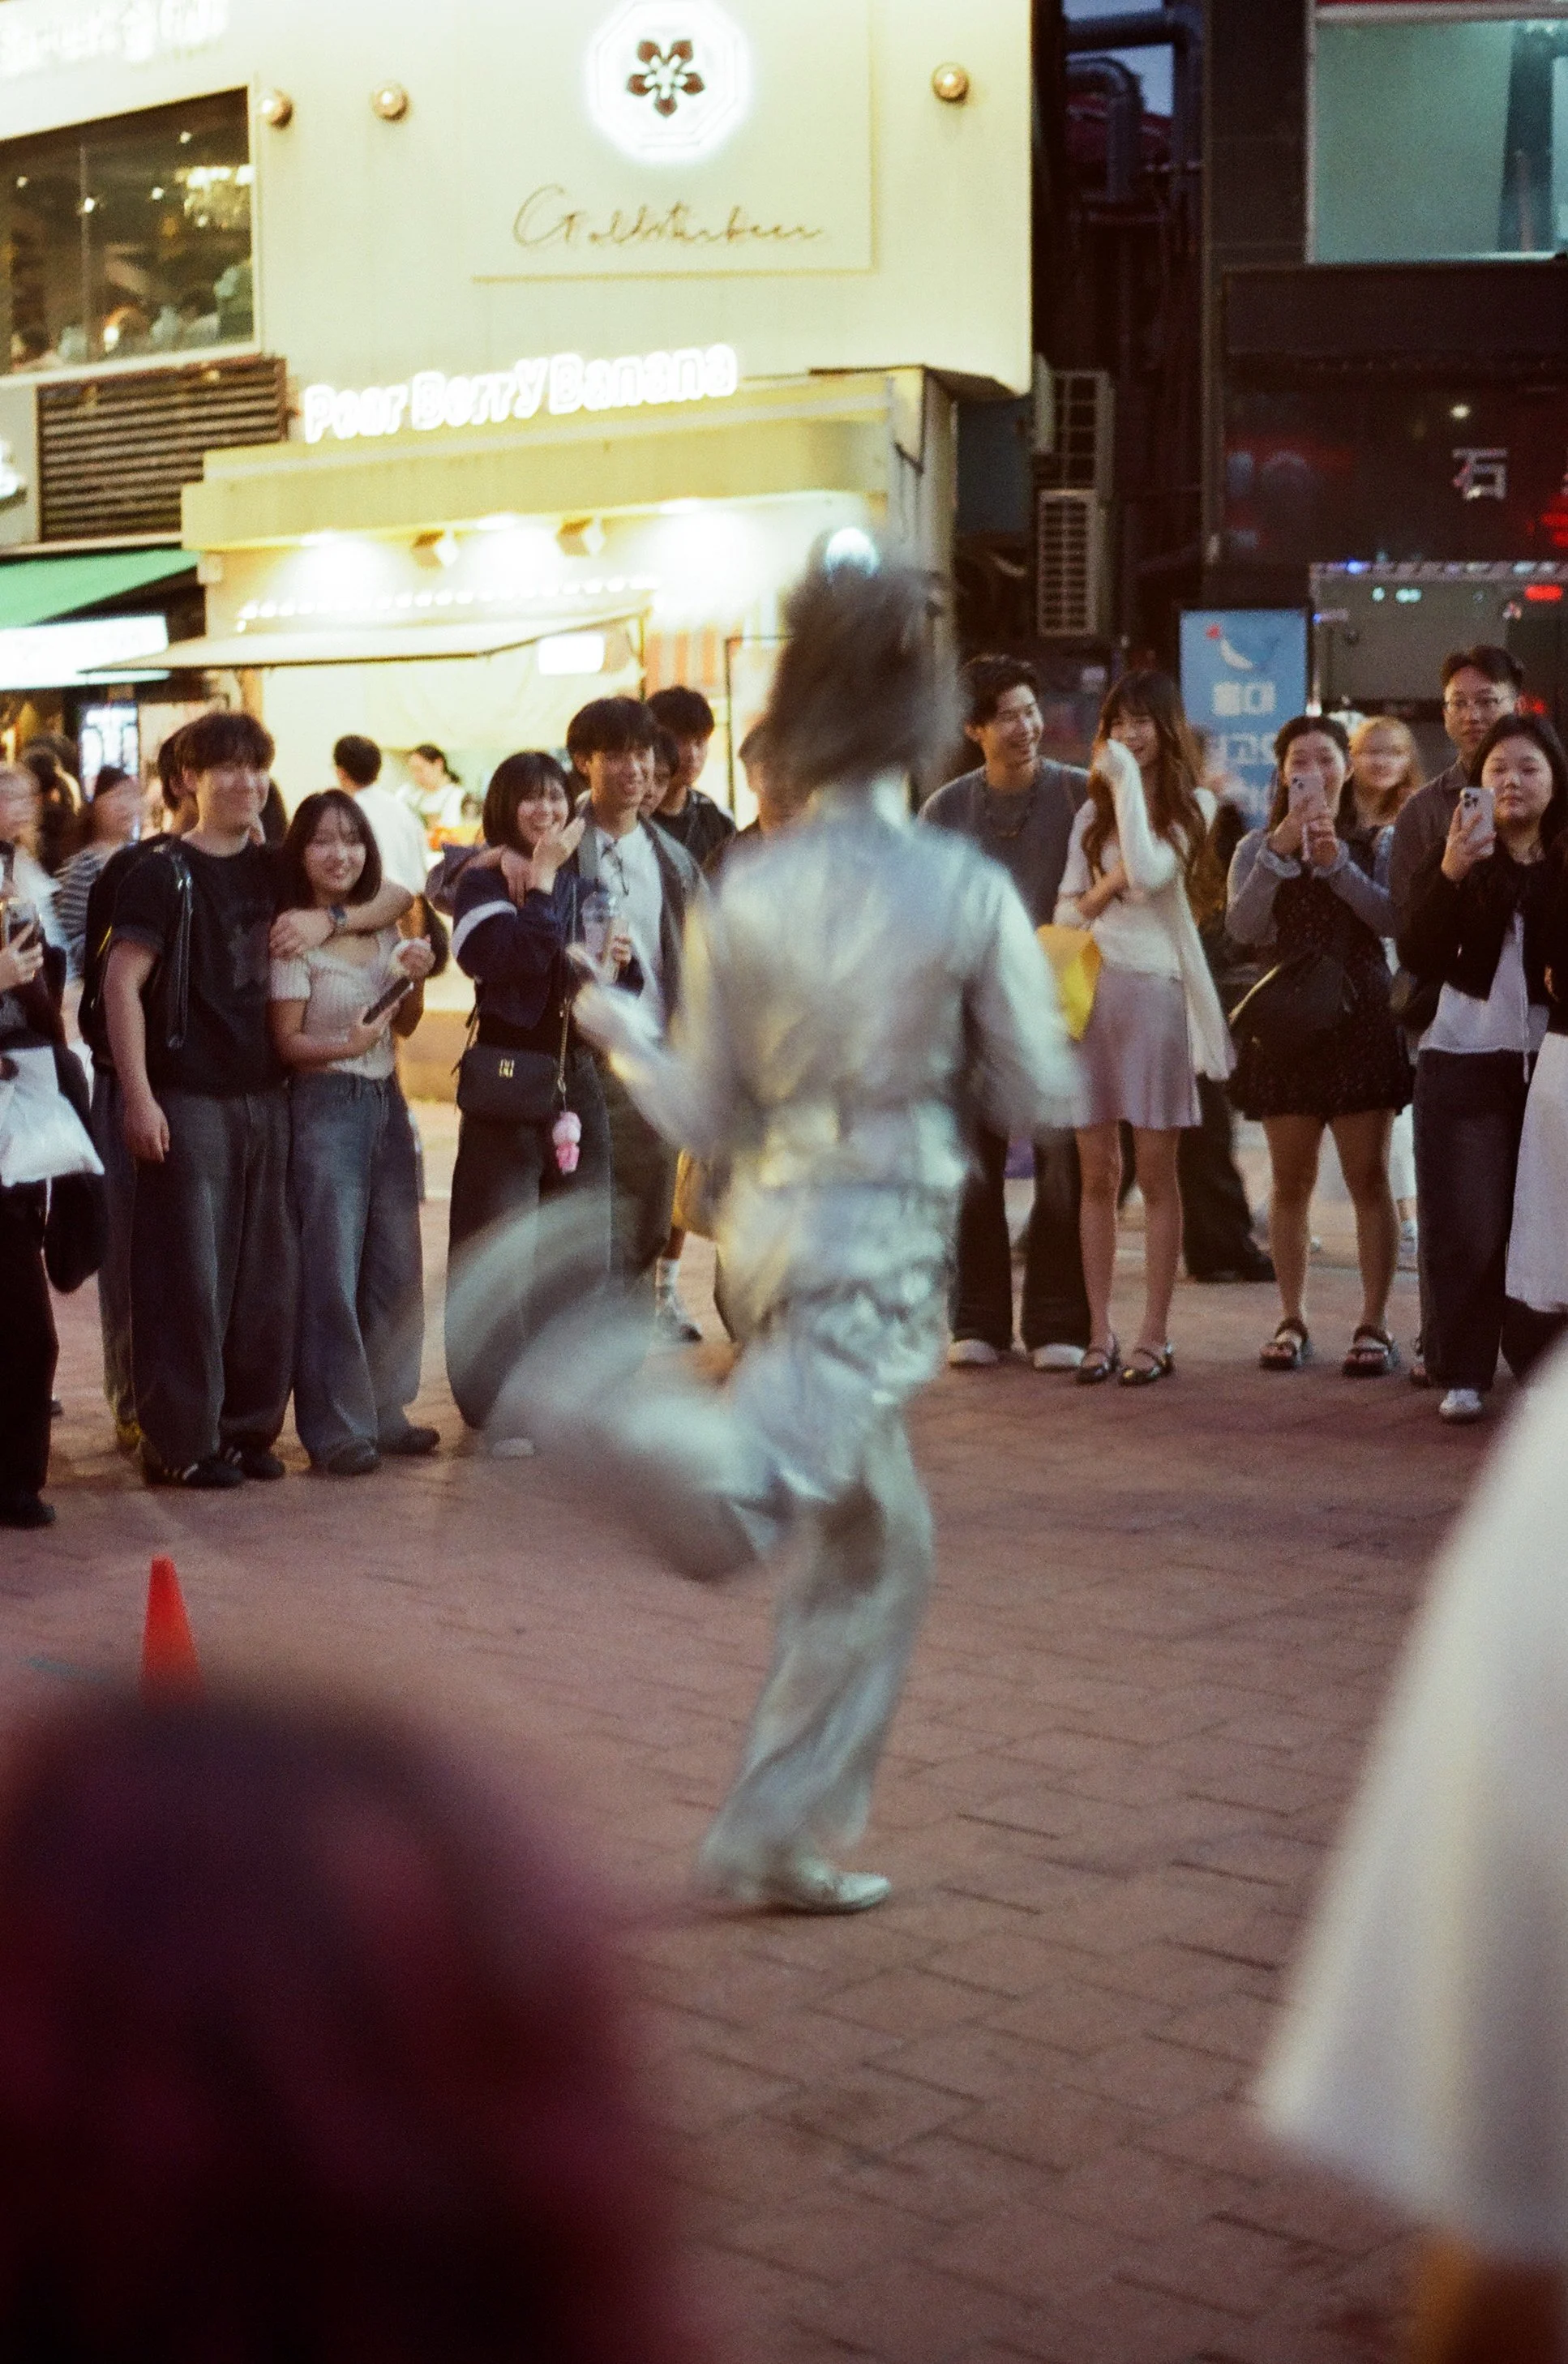
At one point I tried to torture test the meter to see if it can keep up with the most difficult scenario possible of doing street photography at night against bright neon signs with a telephoto lens. Even when using a 135mm lens on my GFX camera, the readings I was getting from the meter were all accurate. I found the exposures to be excellent and often times would be more accurate than what the camera suggested.
If I had to nitpick one aspect of the performance at night it would be that with my Olympus OM-1, I found that some images would end up being too bright when it was a particularly busy shot. An exposure compensation of -1/3 or -2/3 would have brought the images down to where I would have wanted them as that’s about what I had to do in post to get them “right.” With my Mamiya 6, this was less of an issue likely because I was getting closer to fill my frame so there was less to confuse the meter.
All that said, there is an additional version with a smaller field of view that is more like a spot meter than an average meter. It would be better suited to photographers like myself who like to use tighter focal lengths so if you shoot medium to telephoto, that may be worth considering and is something I'm picking up soon as I believe it may better suit my work.
Sample Photos
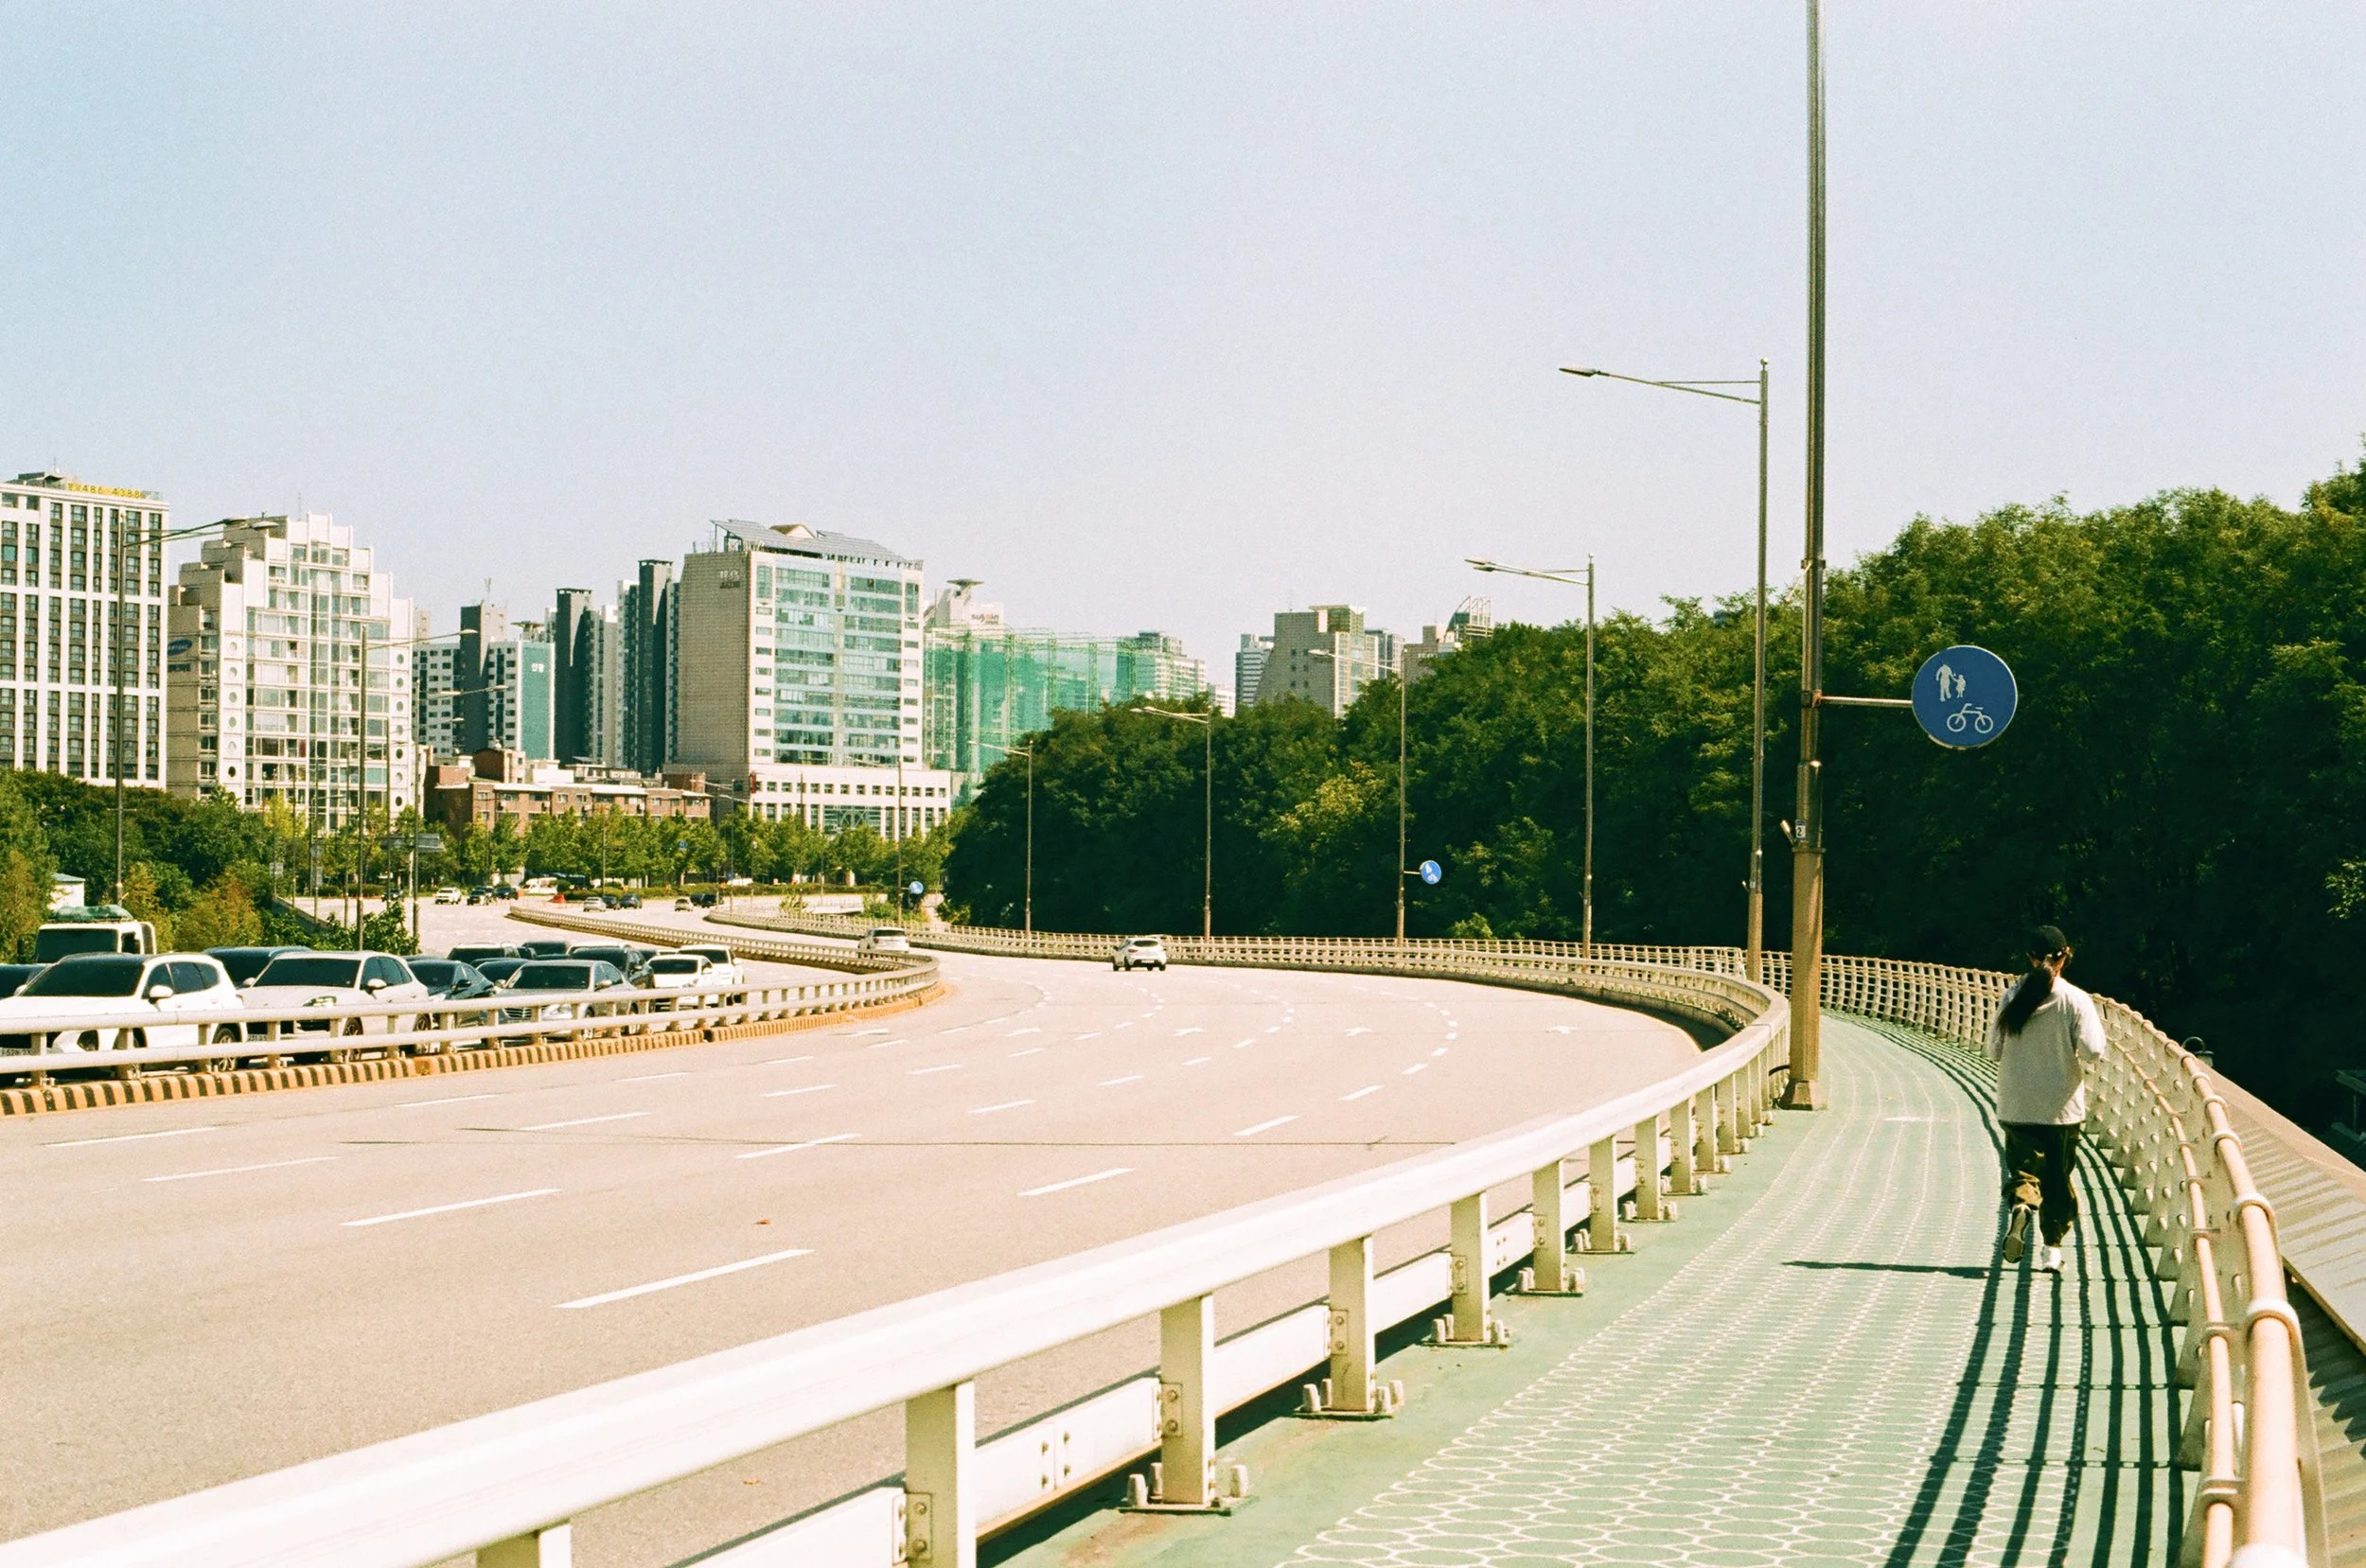
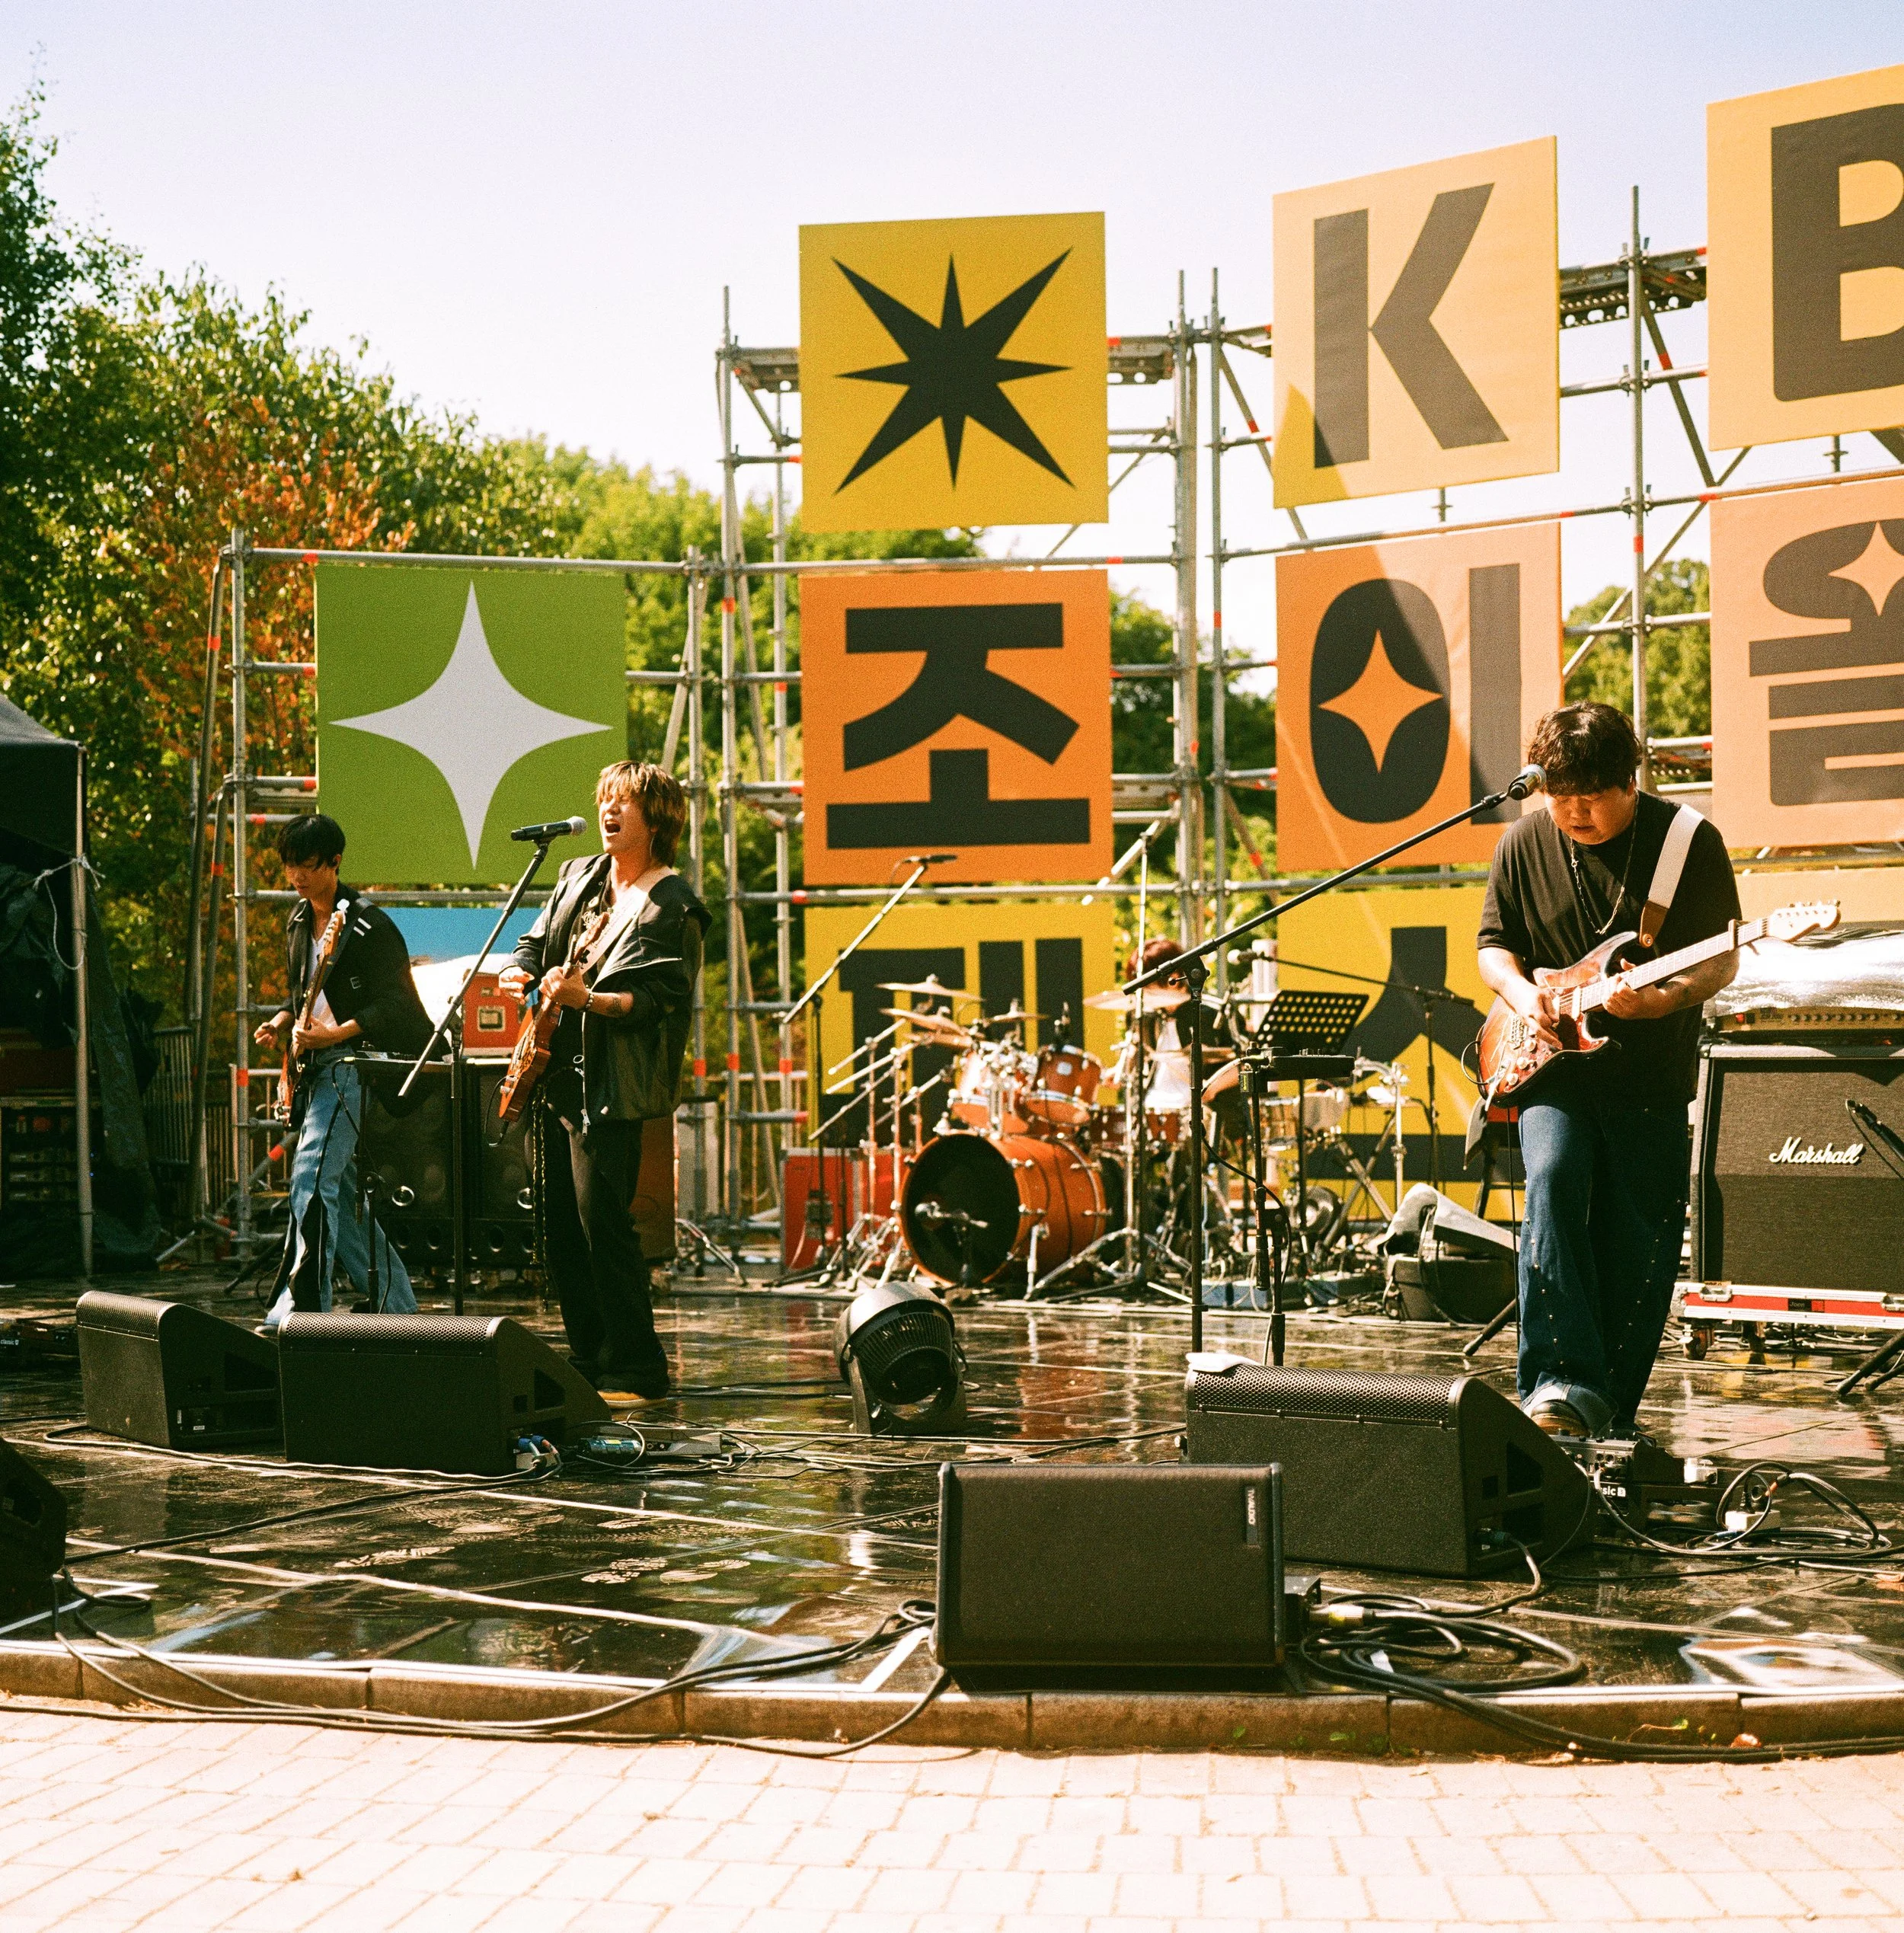
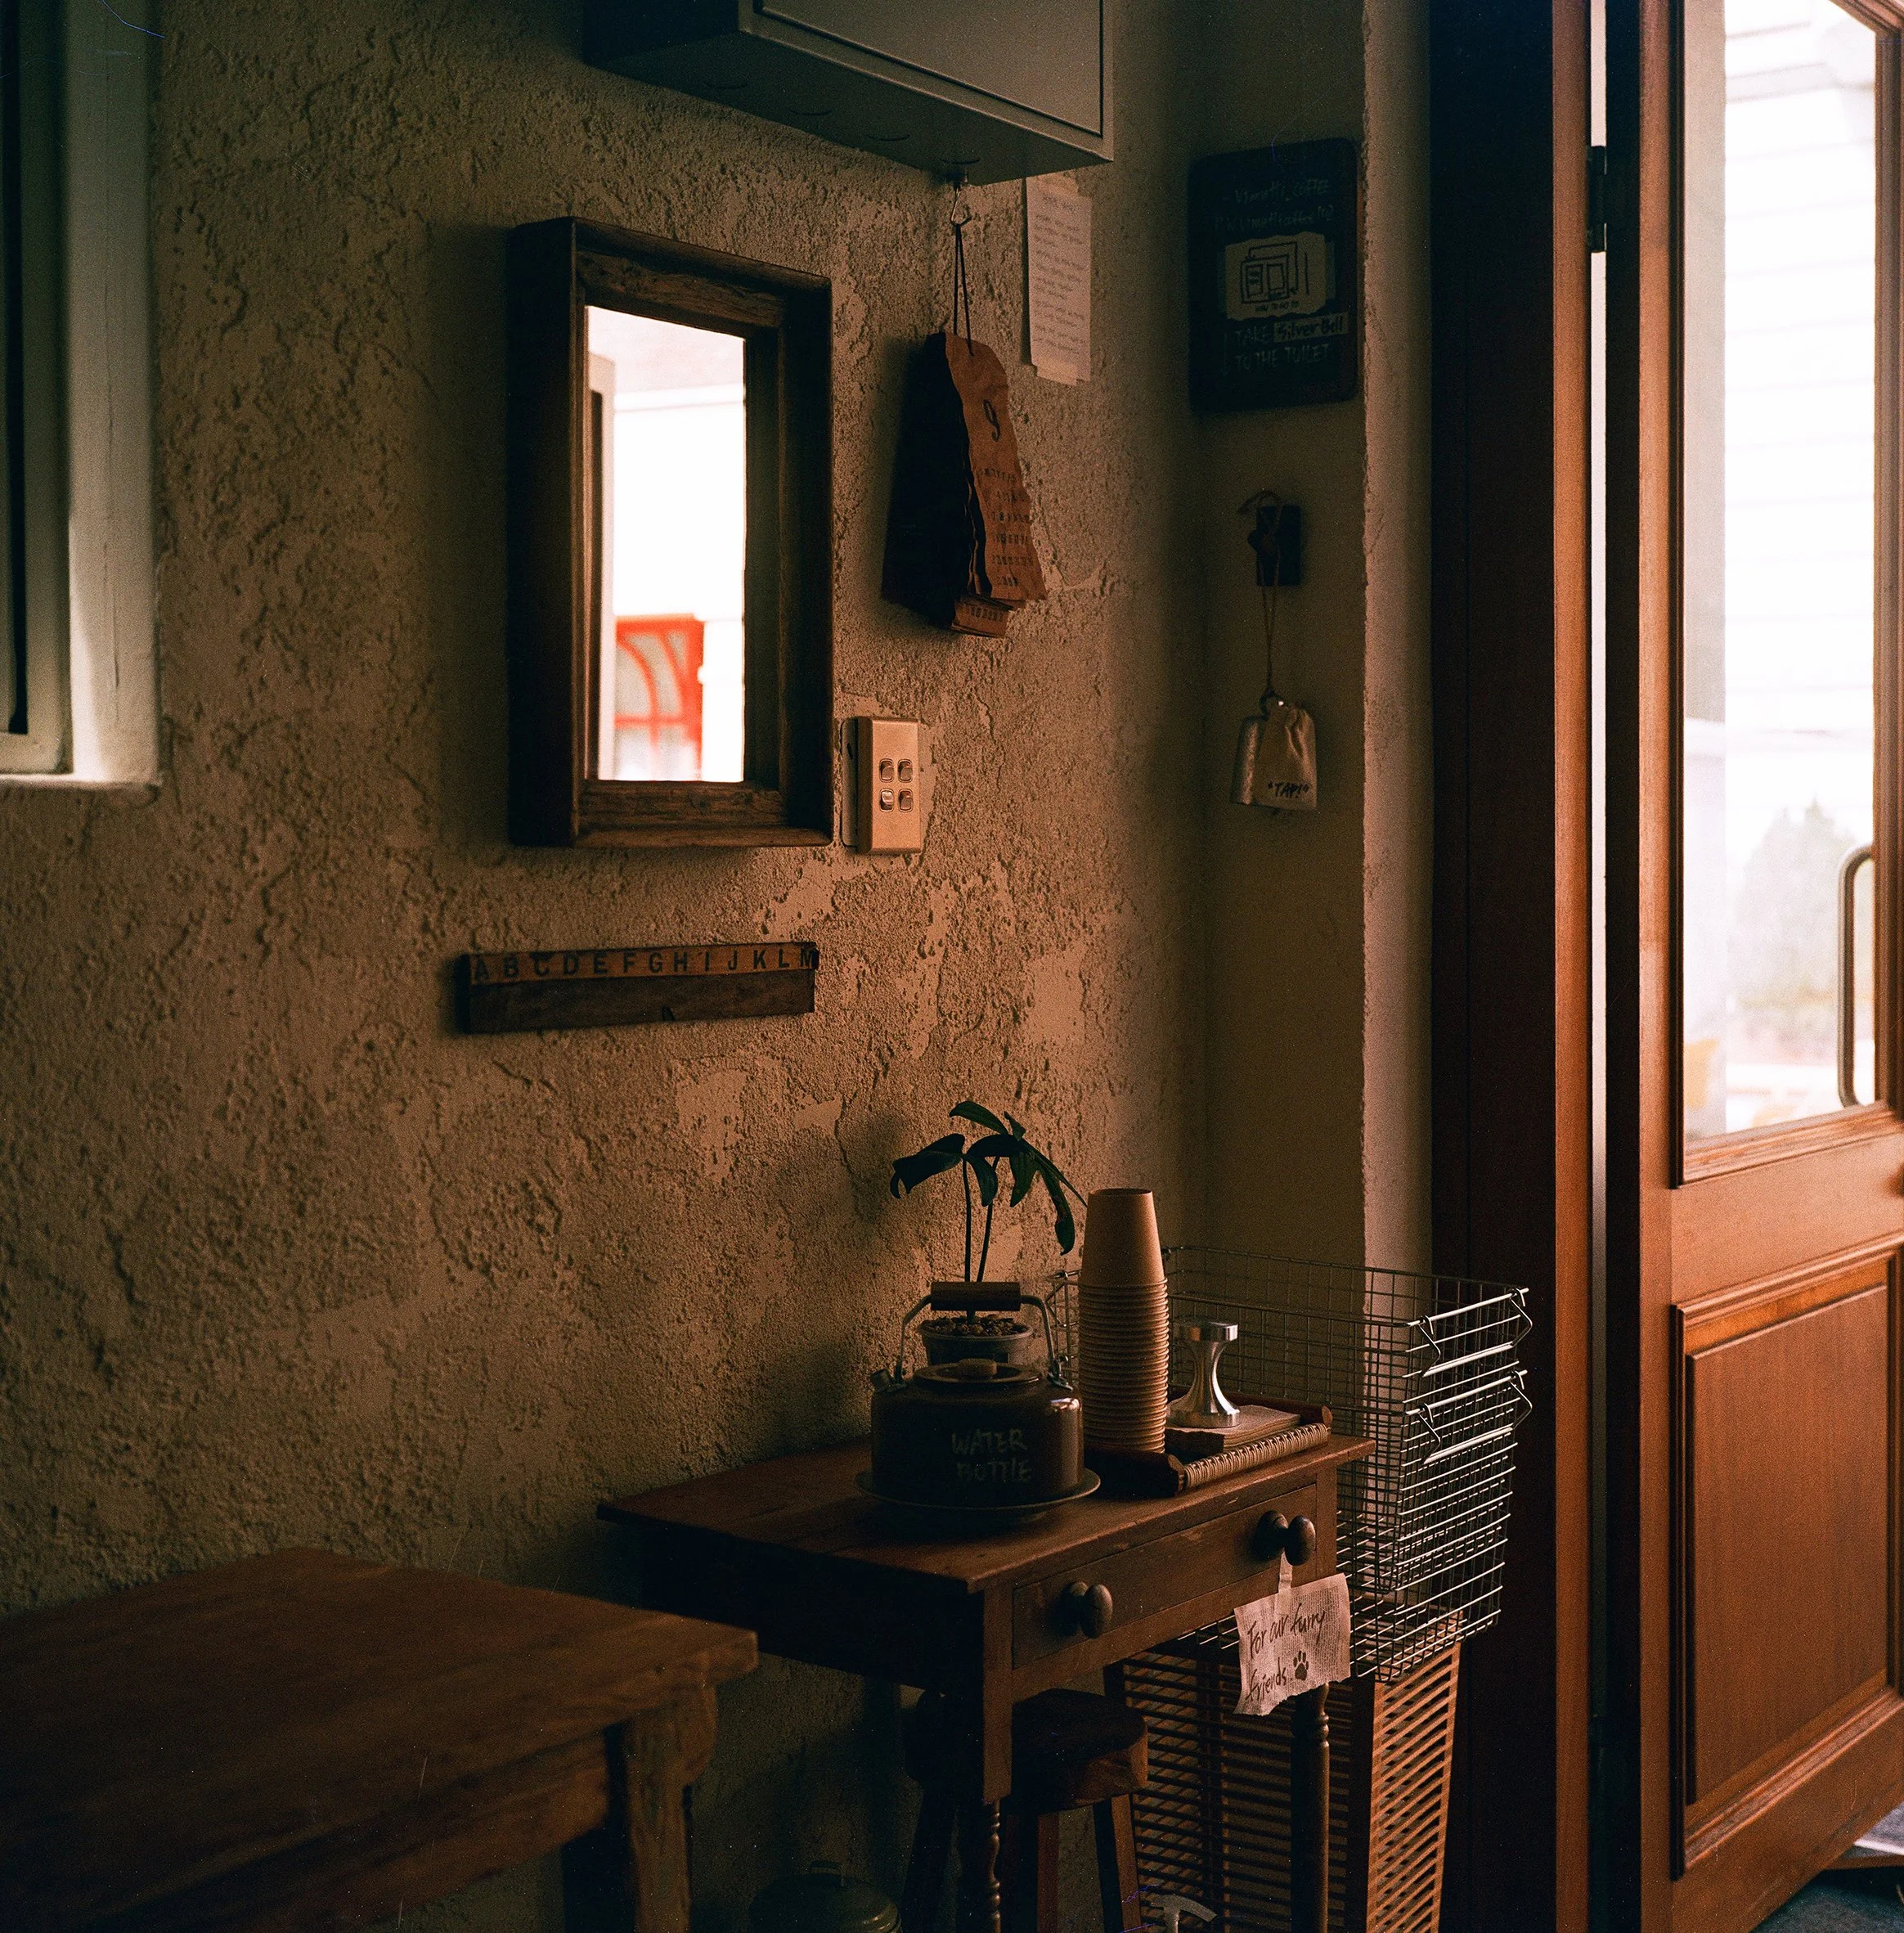
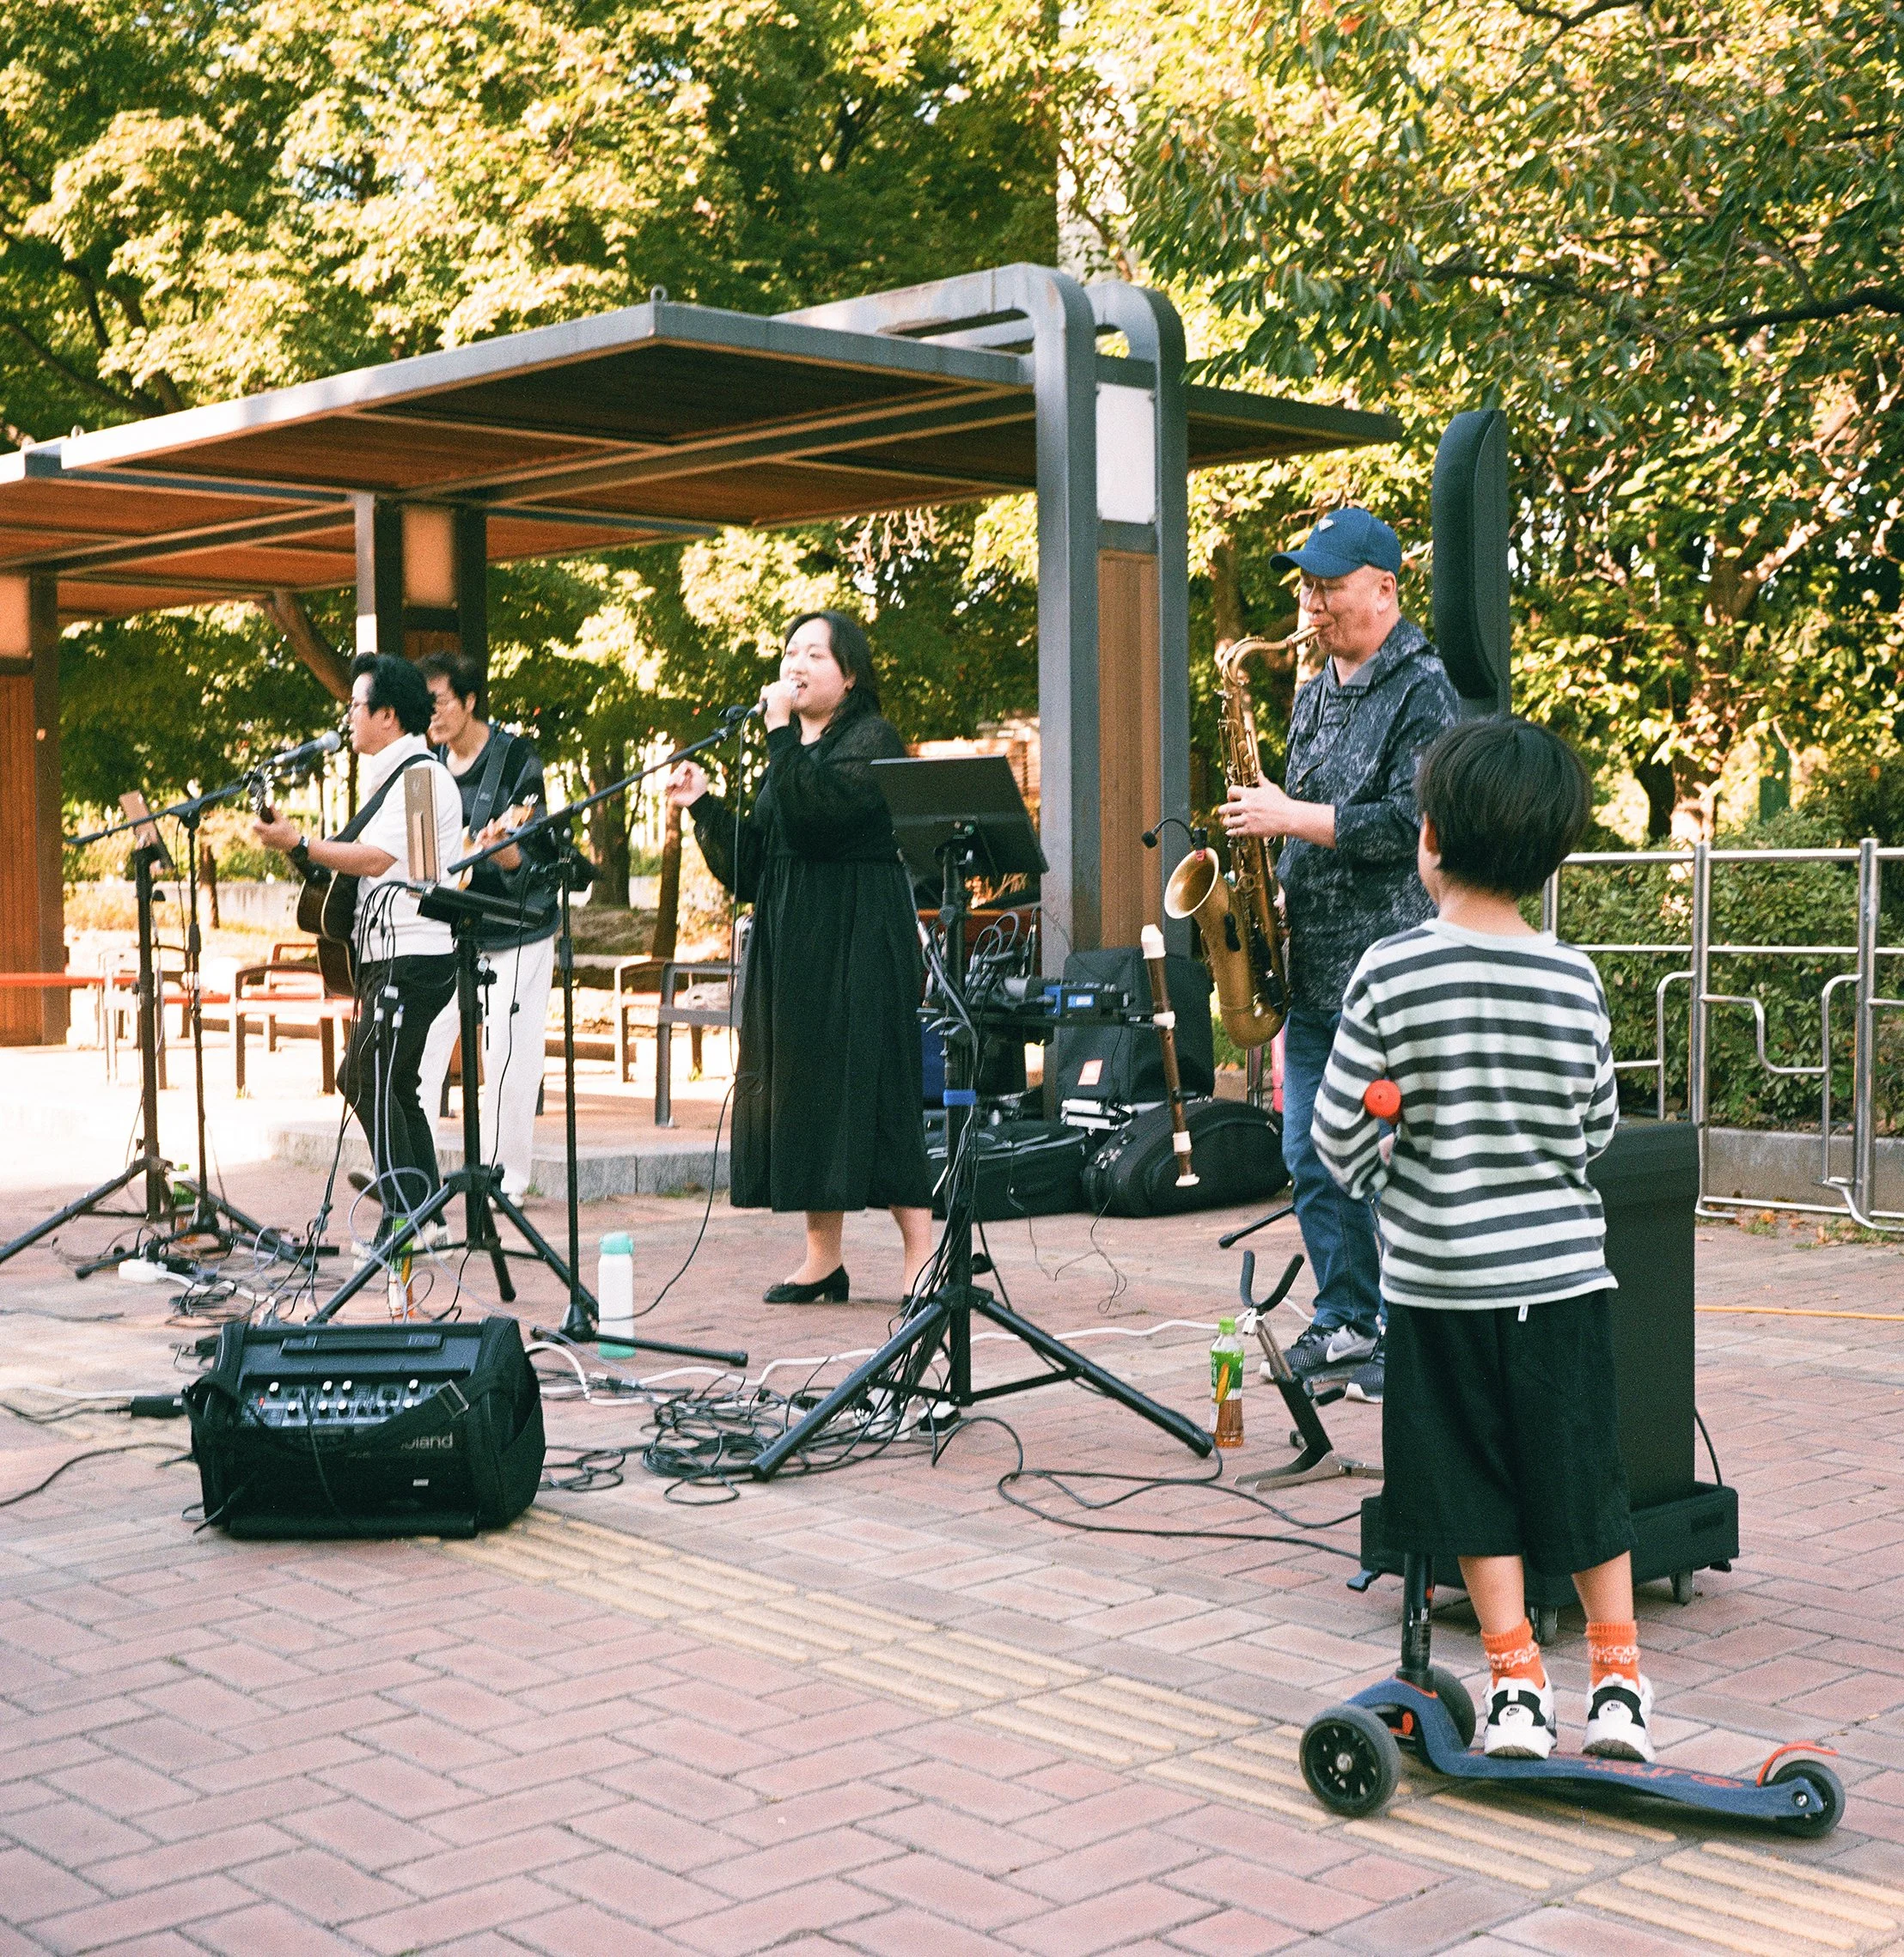
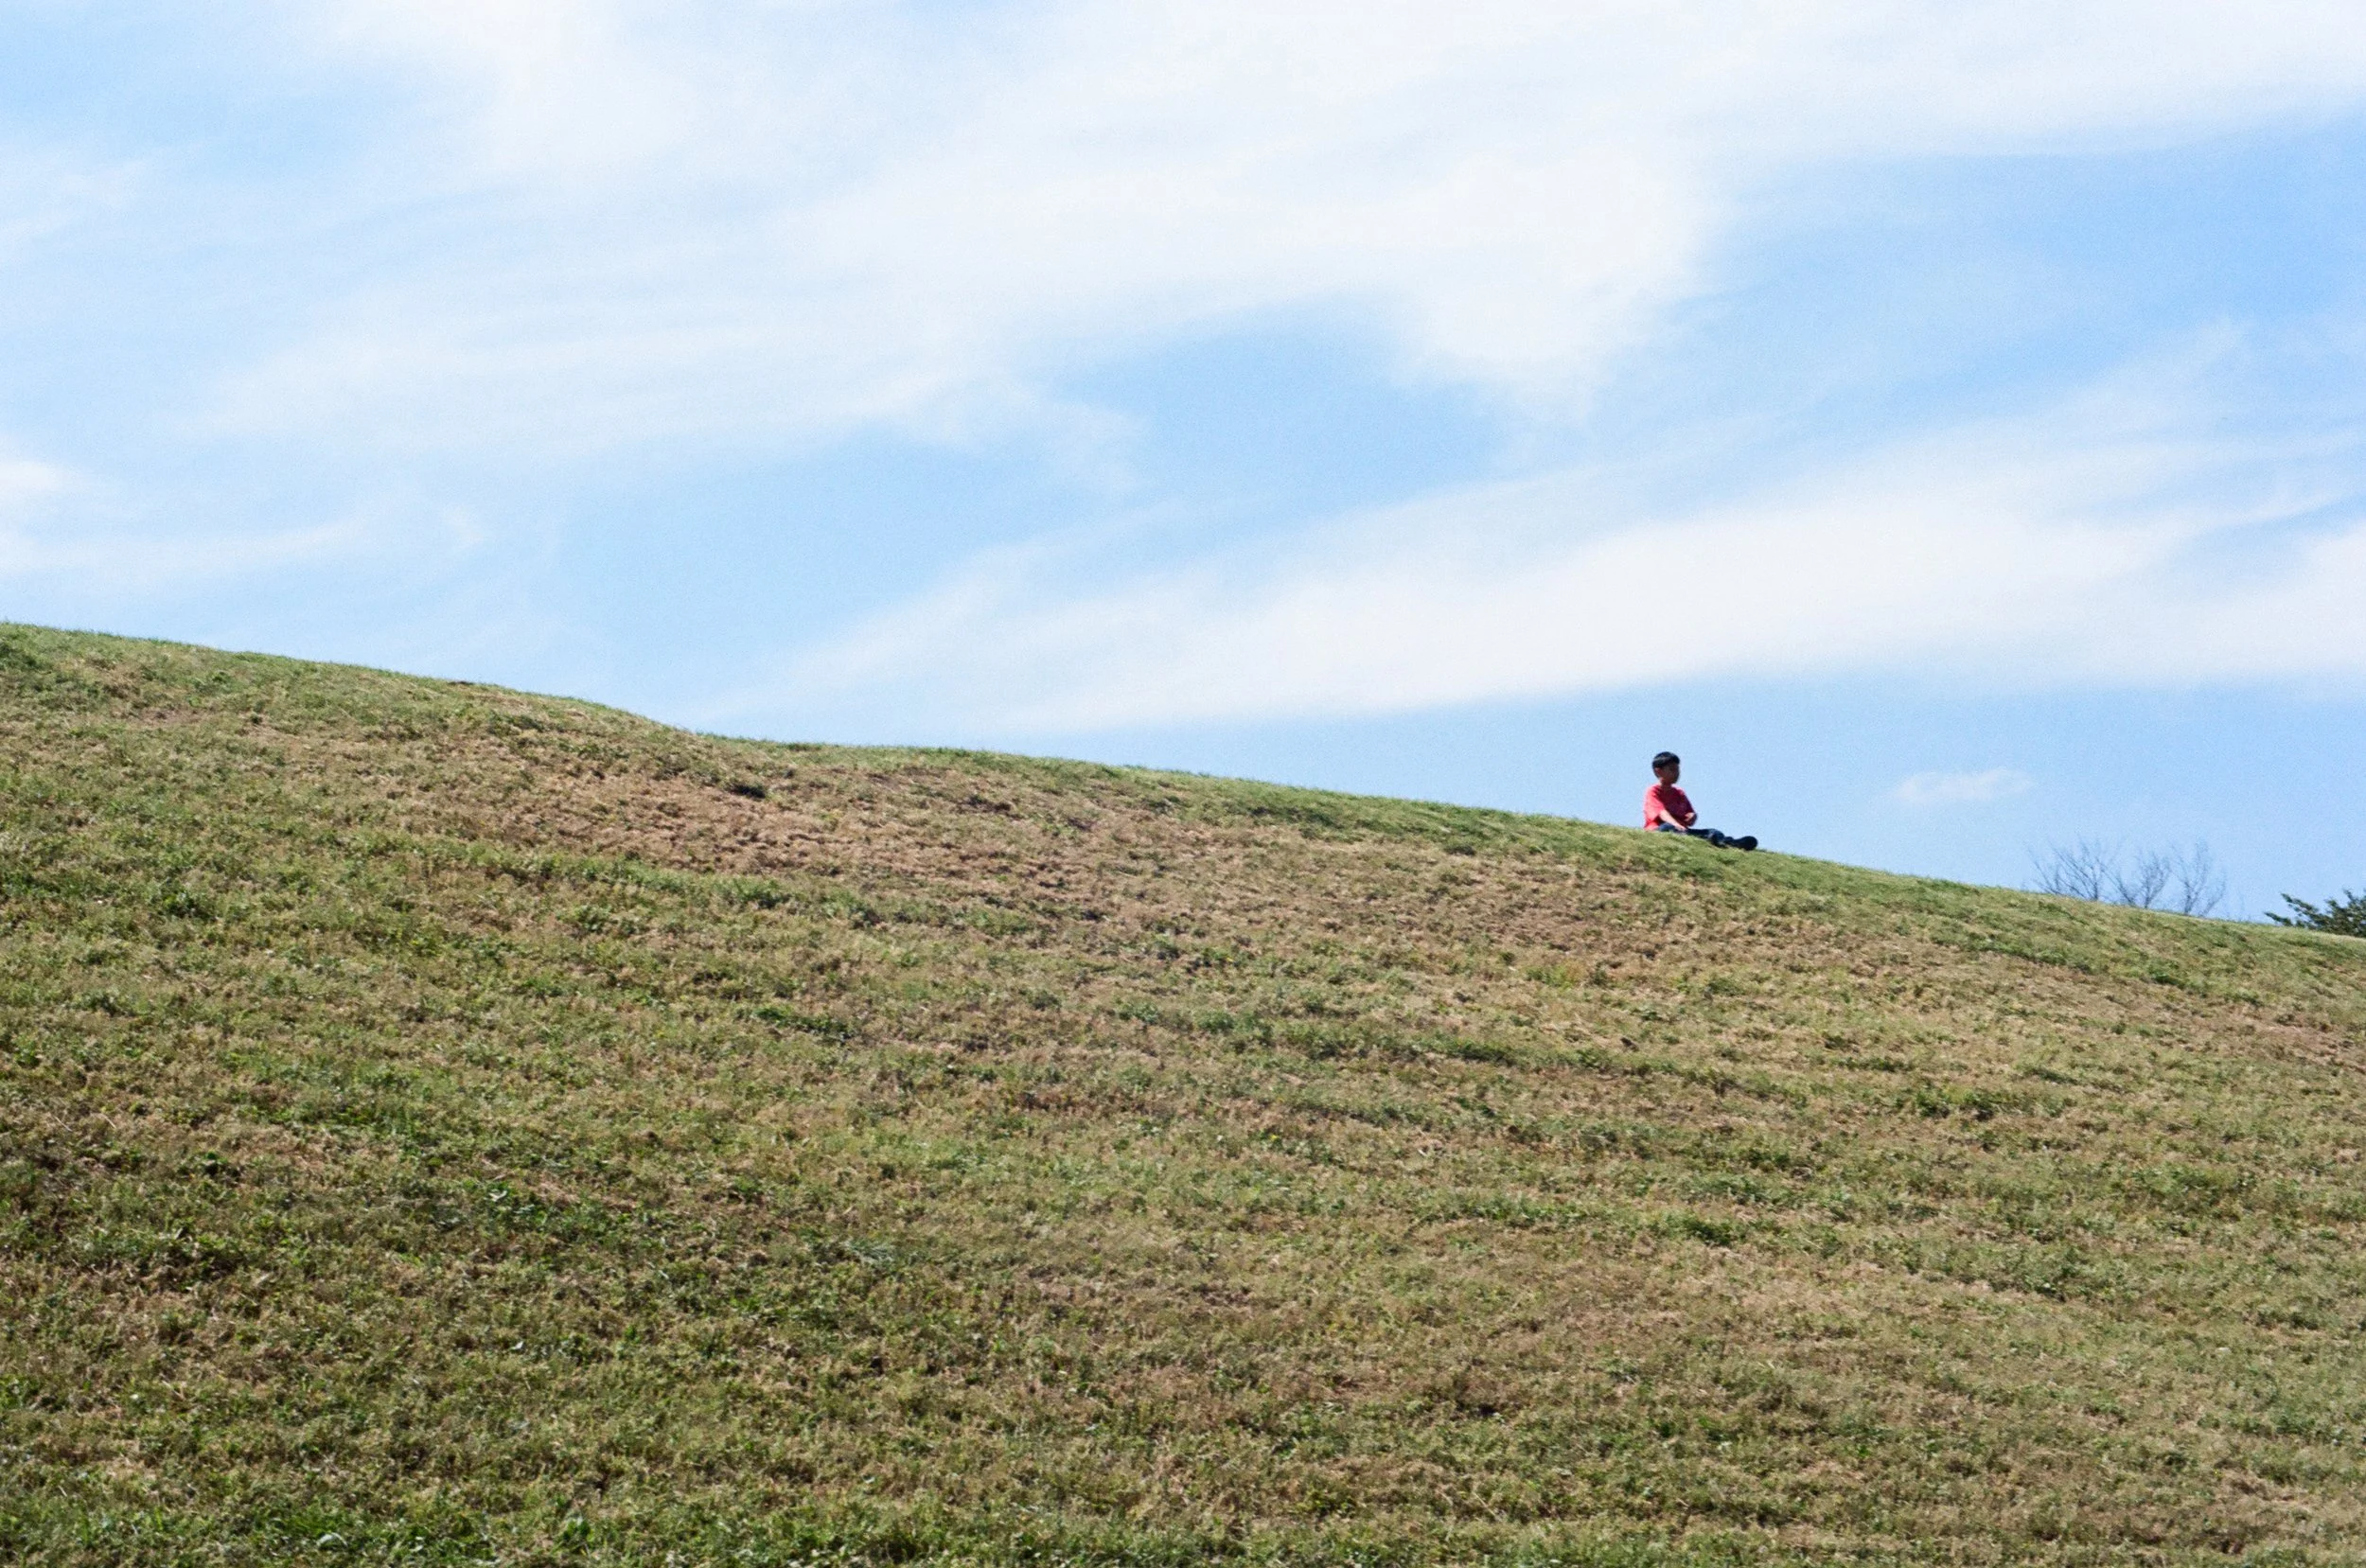
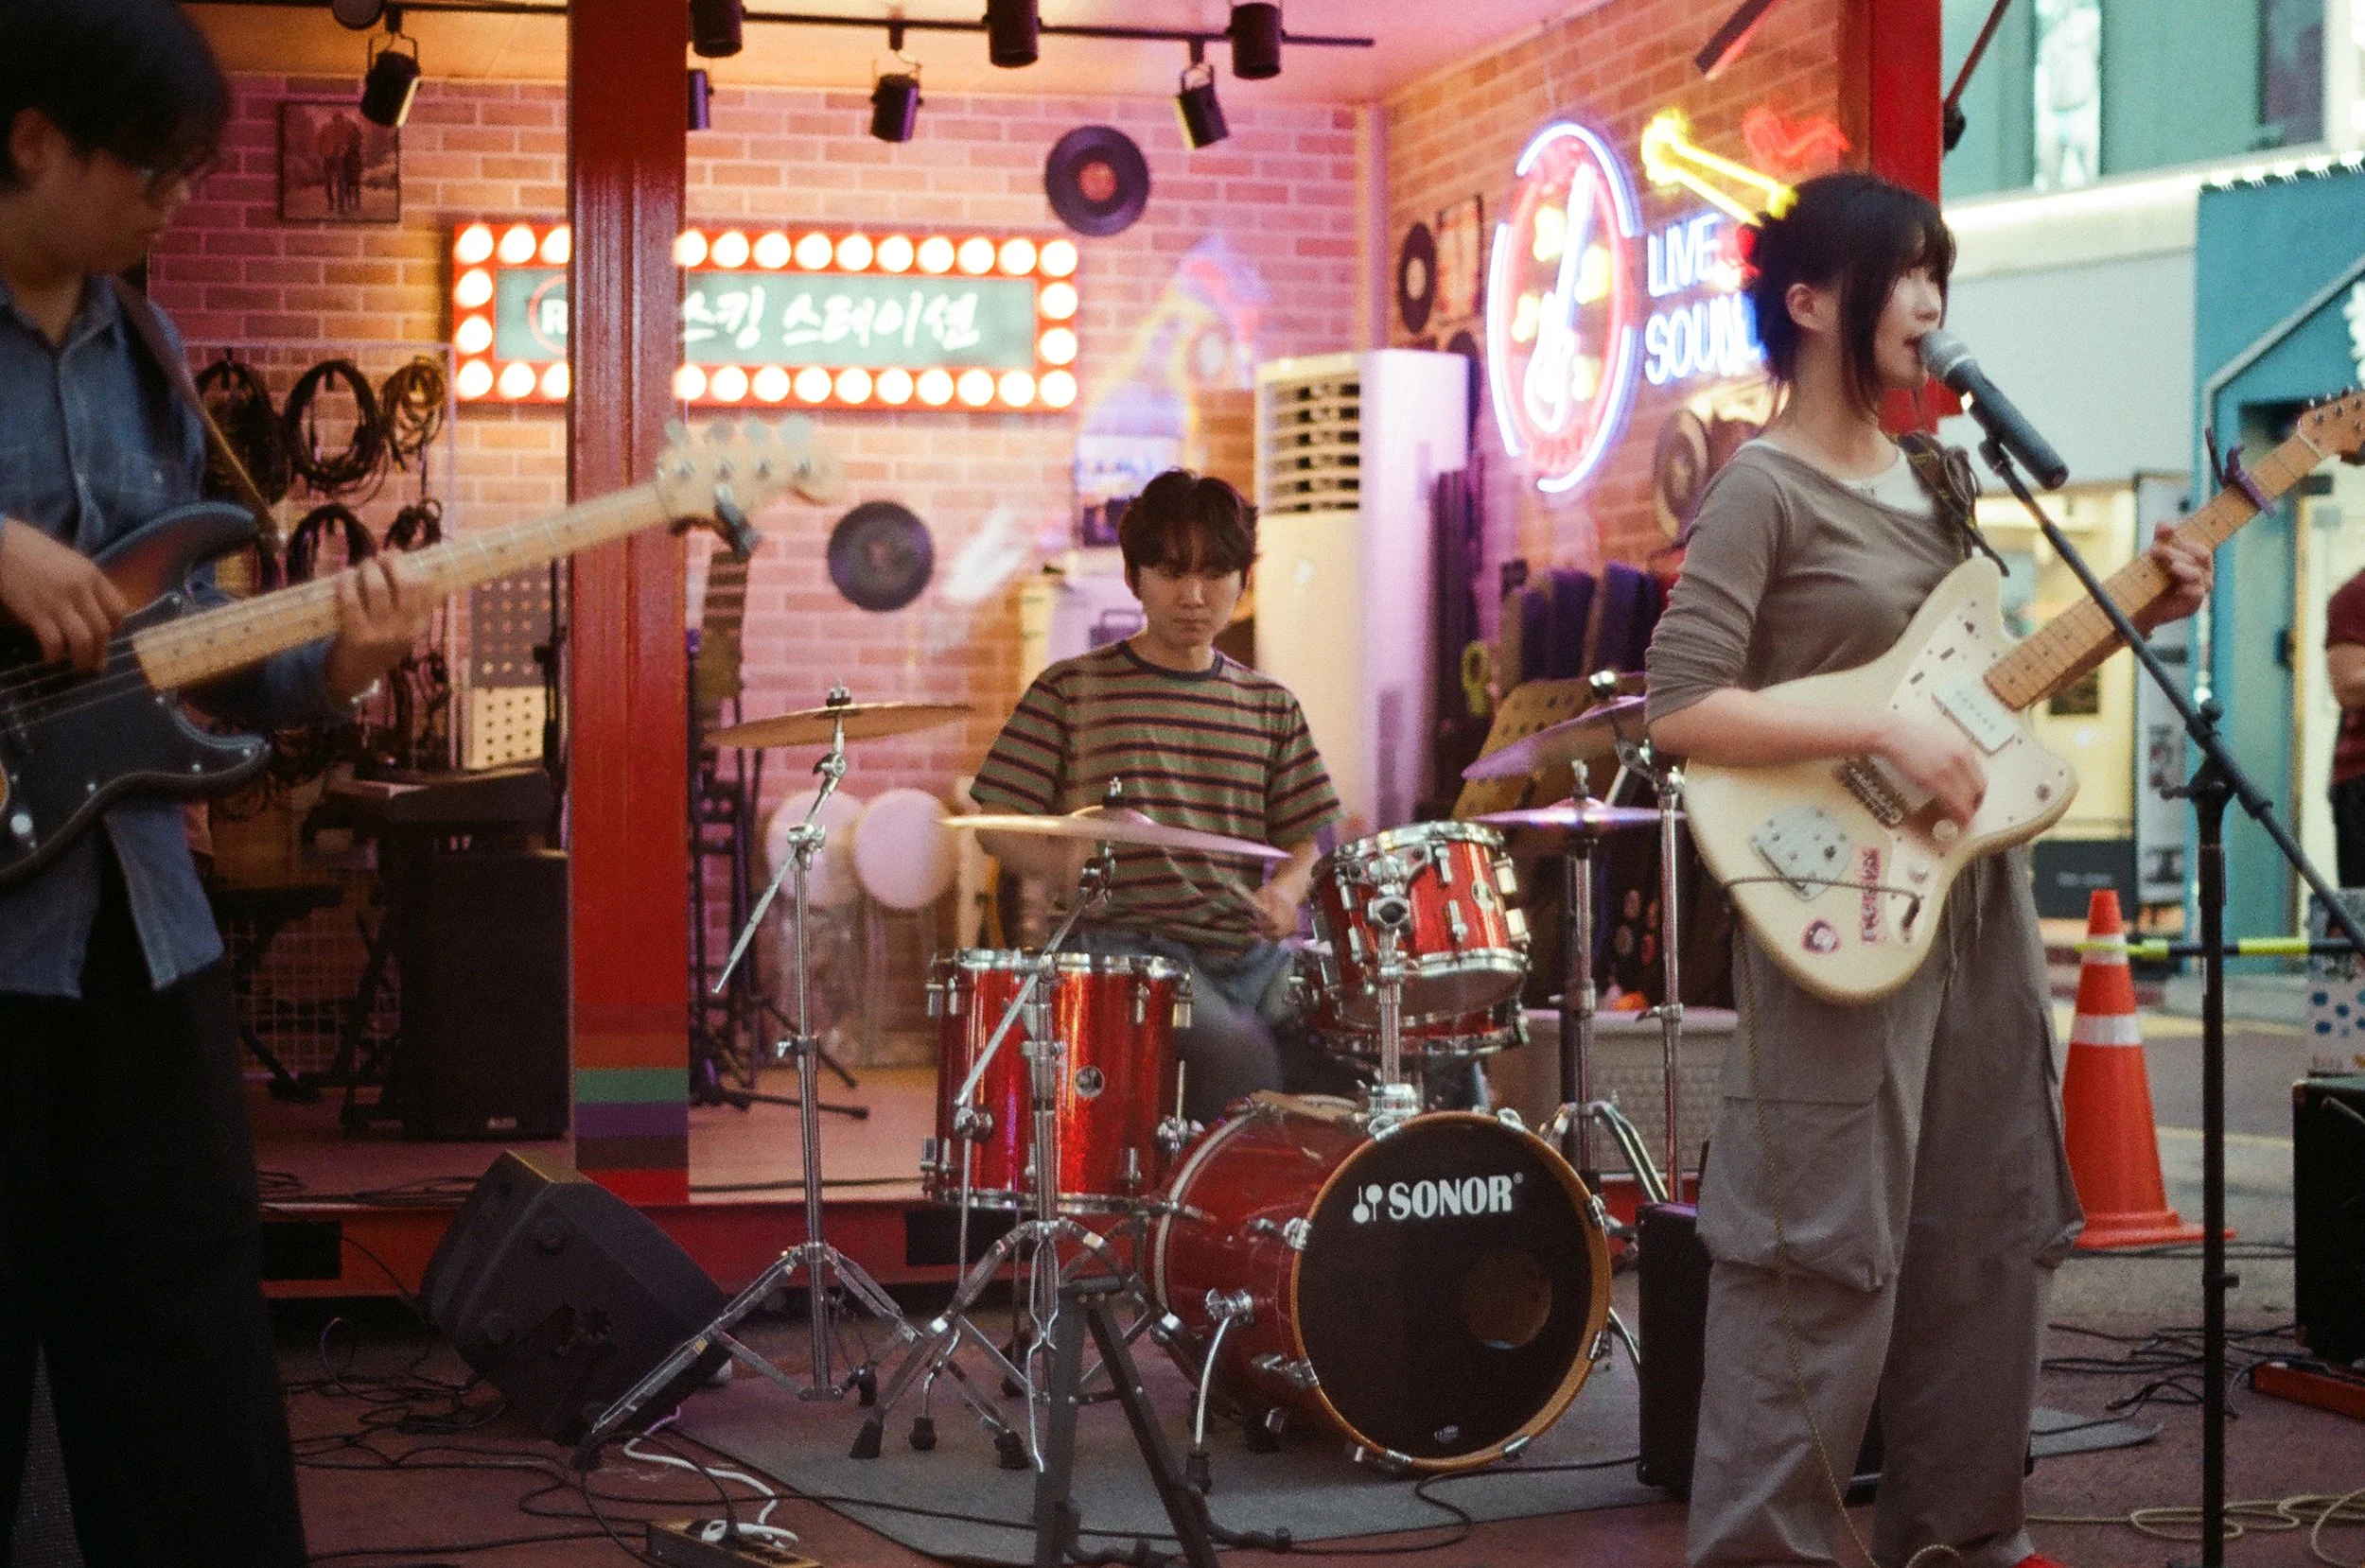
All photos in the sample gallery were taken with assistance from the Reflx Lab Range Lux Meter.






Light Meter Alternatives
Here are some alternatives you may consider and how they stack up
Your Phone:
The meter that nearly everyone has access to. Whether you use an Android or iPhone you probably have access to some sort of light meter on your phone. Most phones have really accurate meters you can access from within your pocket at any moment. The app I use has probably given me the best results by allowing me to combine average, spot and multi-spot metering. But here comes the biggest negative against using a phone and the reason to invest in a meter: your phone is a distraction and slows you down. The reality is that your phone is actively fighting for your attention and adds friction to your experience in a photo shoot. Add on that sometimes these metering apps can be buggy, some that I've used have since added subscriptions, etc... I don't recommend it despite it being technically the best tool for many, it is the worst tool for staying focused, in the zone and the moments it takes from you will add up to missed shots, missed photos and frustrations that outweigh the benefits.
TTArtisan Light Meter II:
As one of the most accessible and available light meters, this was my prior light meter and I will say that Reflx Lab's offering is better in nearly every way. The Range Lux Meter build quality is higher, offers more consistent and accurate results, and it's more feature rich. The only benefits you can give to the Light Meter II is that its MSRP is cheaper and you can get it from more vendors. I found my copy of the Light Meter II to be off by 1 stop in exposure measurements and began falling apart within a year while constantly falling off my cameras. It became such a frustrating experience I stopped using it in favor of my phone despite being someone who prefers to stay off my phone during photography sessions.
Handheld Meters:
From my research, the main benefits of using a handheld meter are being able to set the metering type between "incident" and "reflective." These meters are generally useful for anyone doing portraiture, who needs the most accurate metering for flash work or generally just studio and commercial work. It's a slower and methodical way of metering for those who need images as close to perfect and less for those doing off the cuff shooting out on the streets where the moment and "feeling" of the photograph matters more. In those scenarios having a quick to access meter would be better. When looking for a handheld meter from a reputable brand, you'll be spending more in exchange for these pro-oriented features if you're shopping new. When shopping second-hand you can get a handheld meter for a bargain but that's not a guarantee nor is there any telling how long that may take.
Camera Internal Meters:
For more modern film cameras they tend to have a metering system and if you've been getting results you're happy with then you can continue using that. The main issue with this solution is that many film cameras are getting older and as a result, the internal electronics are starting to die, or may never have been accurate to begin with. With a product made today, you're investing in modern technology and conveniences while also having the warranty and support of a modern company and for some that may be worth it in itself.
Sunny 16:
As you grow experienced with shooting you'll develop an eye for measuring approximate amounts of light in your surroundings. This is the light meter you always have on you and honestly it is the most convenient meter. The problem is that it takes a while to develop your eye for this; even then, for more complex light scenarios having a meter will give you better exposures. However, learning Sunny 16 is a great tool to have alongside your meter for those scenarios where you can't take the time to refer to your meter and just need to take the shot.
Verdict
In the end, now that I'm a bit more familiar with the Reflx Lab Range Lux Meter I can say that I do recommend it. There are caveats but ultimately it's a high quality product. To those who have never purchased a light meter, it can feel like an unnecessary expense right after buying a camera. But accurate exposure does more for your photos than almost anything else in film photography, and this meter delivers that consistently.
Using it as just a continuous meter I was able to use my old SLR at a much faster pace than I ever could with a phone meter or the internal meter. With my Mamiya 6, which has an internal meter that isn't very great, I was able to get much more consistent results that I felt confident in. My exposures greatly benefit from having a more modern meter with reliable electronics and I think that that's a pretty big win. The fact of the matter is that a lot of these film cameras are old and the meters are based on old designs and are slowly dying out. The Range Lux Meter gives me something modern, reliable and easy to use with results that justify carrying it around.